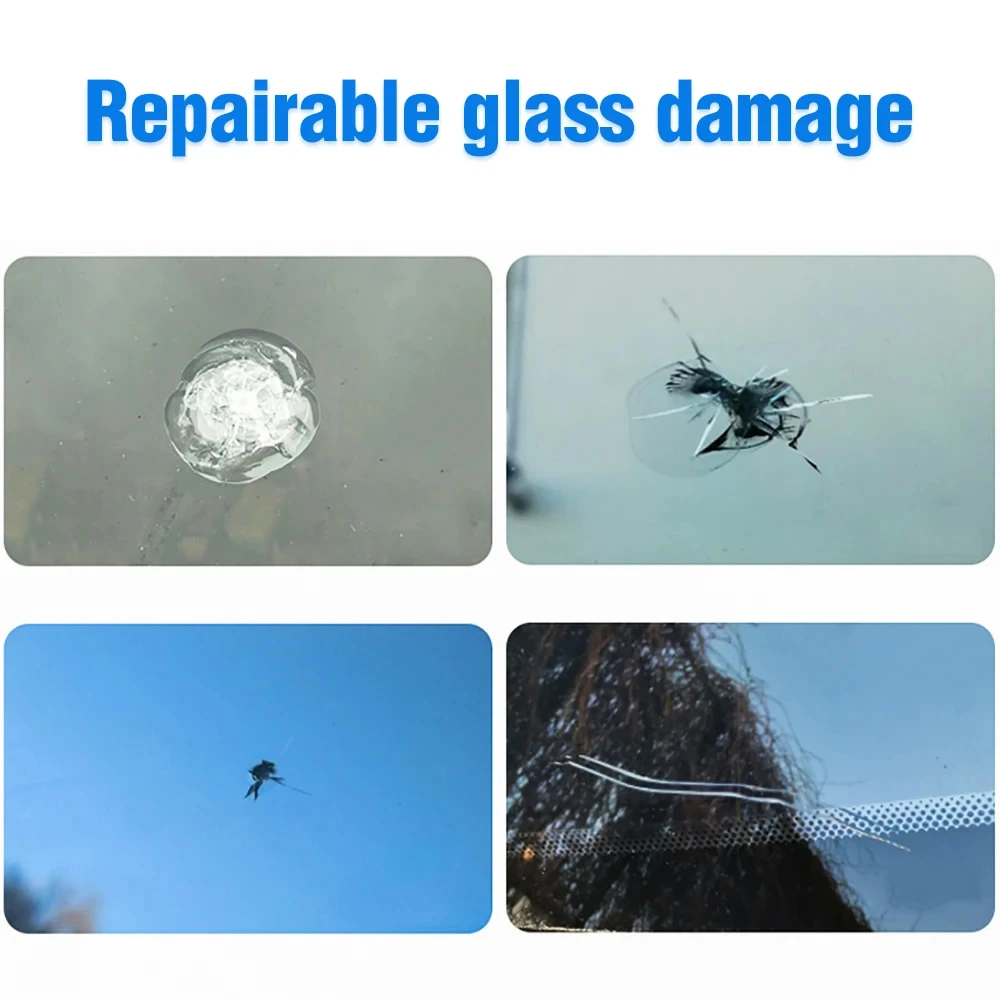
Description
A DIY car windshield repair kit can be a handy solution for minor cracks and chips, potentially saving you time and money by avoiding a full windshield replacement. These kits often contain curing glue or resin, tools to apply the resin, and sometimes a UV light for curing. Here’s a general guide on how to use one:
DIY Windshield Crack Repair Instructions
-
Clean the Area: Make sure the cracked area on the windshield is clean and free of dust, dirt, or moisture. Use a glass cleaner or rubbing alcohol and dry thoroughly.
-
Apply the Resin:
- Place the applicator or adhesive seal over the cracked area.
- Insert the curing resin into the applicator and gently press down to fill the crack with resin.
- Be careful not to overfill; a little resin goes a long way.
-
Use the Injector (if included):
- Attach the syringe or injector to the applicator.
- Pull and release the plunger to create a vacuum, which helps the resin penetrate deeper into the crack.
-
Curing:
- Expose the repaired area to direct sunlight or use a UV light (if included) to cure the resin. This step usually takes about 15-20 minutes.
- Once cured, remove any excess resin with a razor blade to ensure a smooth finish.
-
Inspect and Clean:
- Check the area to see if the crack has been filled adequately. If needed, repeat the application process for deeper cracks.
- Clean the glass for a clear, polished look.
Tips
- Best for Minor Cracks: DIY kits are usually most effective on small chips or cracks less than 6 inches long.
- Safety Precautions: Avoid direct contact with the resin and work in a well-ventilated area.
Would you like recommendations on specific brands or advice on handling specific crack types?


Reviews
There are no reviews yet.